Wood Stairs » Installation » Attaching Handrail to a Newel Post
Attaching handrail to a newel post is a relatively simple procedure that requires only a couple of stair installation tools and hardware and very little skill. If you are installing your stair balustrade we are assuming that you have a tape measure, level, saw, etc. You may also have the majority of the additional tools needed to attach the handrail to a newel post, but here is a list of specific tools needed for this particular task (with special stair installation tools bolded).
Tools:
Drill
¼” drill bit
1” Spade or Forstner drill bit
½” Spade or Forstner drill bit
Rail Bolt Runner (or vice grip pliers)
VersaTool
Hardware:
Rail Bolt Kit – Includes Rail Bolt, Face Grain Plug (Matching wood species of handrail), Nut and Washer
Wood Glue
Now that I’ve identified the tools and hardware let’s get down to the actual method of attaching a handrail to a newel post. You should begin by reading this blog, follow the steps of layout, drilling, and inserting the rail bolt; but then dry fit the handrail before you actually install it with the balusters. This will allow you to adjust the angle of the rail bolt, “keyhole” the ½” hole, etc. as may be necessary. However, assuming that the post has been set and that the handrail has been cut to fit and to length and its height is known, we can begin the process.
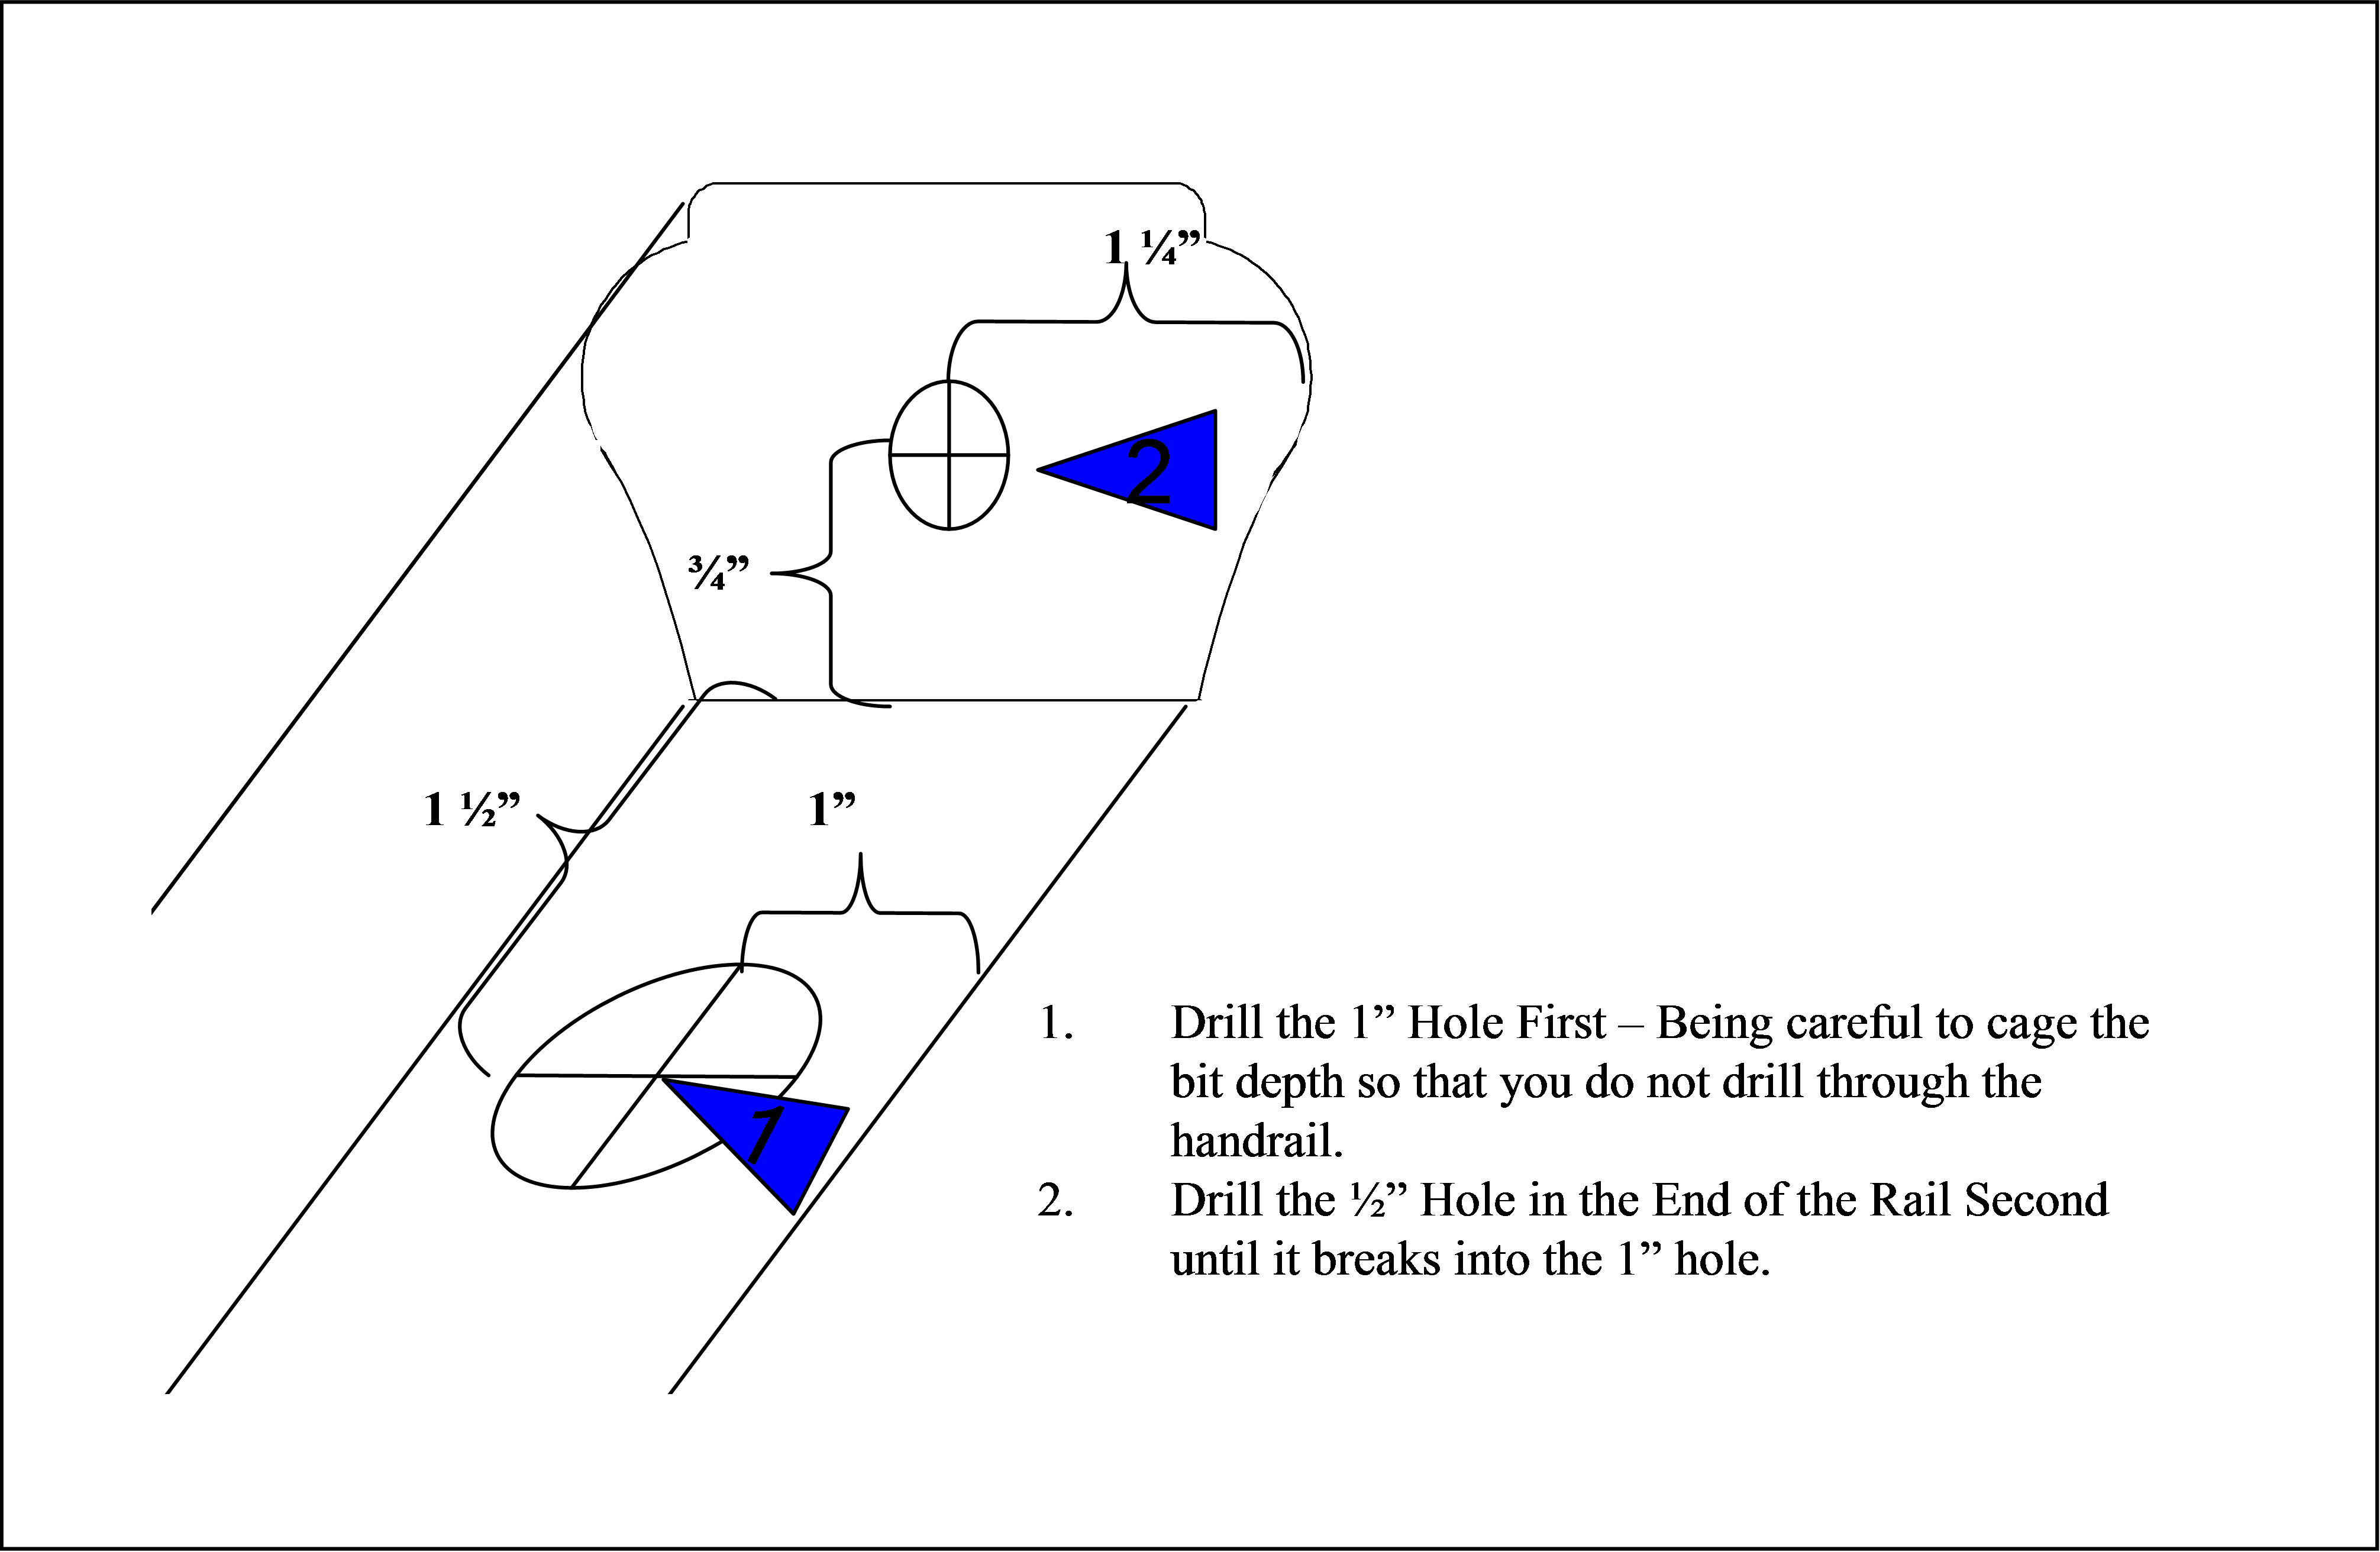
 Step 1: Layout the rail and post with the center points of the holes that will be drilled in the next step. The hole in the post is for the rail bolt. The center of the hole is ¾” up from the bottom of the handrail and centered across the post. The center of the bottom hole in the handrail is 1 ½” from the end and centered across the bottom of the rail. The center mark for the hole in the end of the handrail is 3/4” up from the bottom and again centered across the end of the wood handrail.
>Step 2. Drill a ¼” hole into the post at the mark from step 1. Drill a 1” hole into the bottom of the handrail at the layout mark from step 1. Be very careful not to drill through the top of the rail but make sure the hole is at least 1 ¼” deep. Next, drill a ½” hole into the end of the handrail (making sure it is parallel to the rail) until it breaks through into the 1” hole you previously drilled.
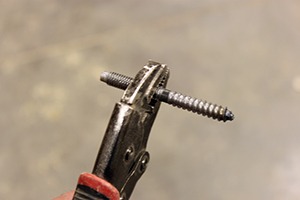
 Step 3. Screw the rail bolt into the post using a rail bolt runner or twist it in with vice grip pliers. Typically the rail bolt is screwed until the wood threads are fully covered but it is always safest to double check. The rail bolt should protrude 1 ½” from the post.
Step 4. This step has a couple of variations depending on the situation. If you are using dowel top balusters you typically start at one side, slide the rail over the rail bolt then slowly bring the other end down on top of the balusters, aligning them with the appropriate holes one at a time. It is actually before this step that the variations come in to play however, this is because if your handrail is between posts or a newel post and a wall, (with rail bolts at each end), then you cannot slide the rail onto both bolts. There are a couple of possible solutions to this problem.
If you are attaching the stair handrail between a post and a wall, you can use a rail bolt on the post side and a rosette on the other. Then you place the handrail over the Rail Bolt, tighten it down as in step 5, and then secure rosette to the wall.
If you are attaching the handrail between two posts you have two possible solutions. You can leave one of the posts loose so that you can lean it out of the way, attach the handrail to the secured post side first then lower the handrail onto the balusters. Just before the handrail is in place you move the loose post out of the way, drop the handrail down into place, then move the loose post back with the rail bolt sliding into the handrail. Finally, you secure the loose post down to the floor.
Or finally, you can keyhole one or both ends of the handrail. This requires a chisel with which you remove the piece of wood from the 1” hole to the end of the handrail. This is done by placing the chisel on the end of the rail, then simply tap the chisel on each side of the hole angling wide and remove the piece. The handrail is then lowered as normal, now over the rail bolt, through the “keyhole” channel you just created. Once the handrail is in place the “keyhole” is glued and replaced. Because of its tapered shape, it will easily tap into place, stopping when it is flush. You can use a chisel to help tap it into place to ensure that you don’t knock it in too deep, like installing a face grain plug. You can then clamp it if it isn’t tight, but isn’t usually necessary. Now, you let the “keyhole” piece dry for an hour or so then it can be secured (step 5) and plugged normally. There may be a little more sanding if there is any glue residue that squeezes out.
Step 5. This requires a little dexterity but you simply place the washer and nut into the 1” hole, on the rail bolt and tighten it down by hand (or finger). Then you finish by tightening the bolt securely with the VersaTool. Because the hole is slightly larger than the rail bolt you can slightly adjust the position of the handrail on the newel post. Also, if you happened to drill one of the holes on an angle, you can bend the rail bolt slightly with a hammer (This is why you should dry fit to test the handrail before installing with balusters). If you do need to bend the rail bolt, just make sure that you put the nut on over the end threads to protect them while you hammer away. If you end up damaging them you will never get the nut on and will end up having to take everything apart to replace the rail bolt. Not fun!
Step 6. Plug and sand the hole. If you are uncertain how this is done read my previous blog post “Stair Installation of Tapered Wood Plugs“.
The method of attaching handrail to a newel post is the same used to connect a handrail to a stair fitting. The rail bolt is threaded into one fitting and slips into the 1/2” hole in the other. Everything else is basically the same.
