Wood Stairs » Installation » How To Install a Floor Level Newel Post
Installing a solid newel post on a floor level can be done several ways with several types of stair installation hardware. Each makes the process relatively simple and easy for the do-it-yourselfer so don’t be intimidated. I’m going to assume that the posts have been cut to length, that their location has already been determined and laid out and you are now ready to install your newel posts using one of the following four methods. These are listed in no particular order.
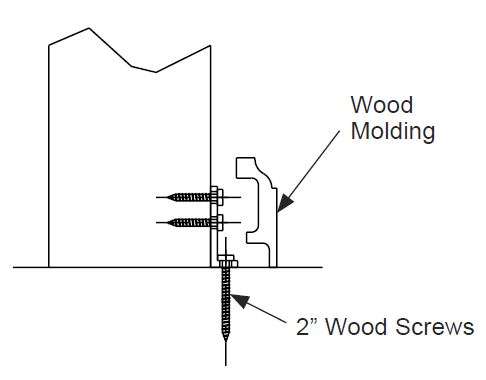
The first method to install newel posts is to use a newel mounting plate. A steel plate is first screwed to the bottom of the post then the plate itself (with the attached post) is screwed into the floor. Always make sure you have appropriate backing on the floor itself and that you are aware of and avoid any electrical wires, plumbing, etc. If necessary the post can be plumbed with small shims under the plate. Finally, the plate is then covered with moulding which is simply mitered and nailed into place. The advantages of this method is in its simplicity. It includes the addition of the moulding at the bottom of the post, to cover the mounting plate. Many like this additional detail while others prefer the post to mount into the post without moulding. There are a couple of ways this can be achieved. But first, let’s looks at another method of using mouldings.
 Another way to install newel posts is the angle bracket newel post fastener installation method. Using the angle brackets as a template mark and predrill the holes into the post. Then attach one angle bracket to each side, taking care that the angle bracket does not extend below the bottom of the post. Next place the post in position with the attached angle brackets, predrill and screw these into the subfloor (again be sure that you have adequate backing in the floor and that there is no risk of hitting electrical or plumbing lines). Finally, miter the moulding around the bottom of the post to cover the angle brackets. This method is a little more secure than the previous but has a very similar finished look with the moulding at the bottom of the post where it meets the finished floor or shoe plate.
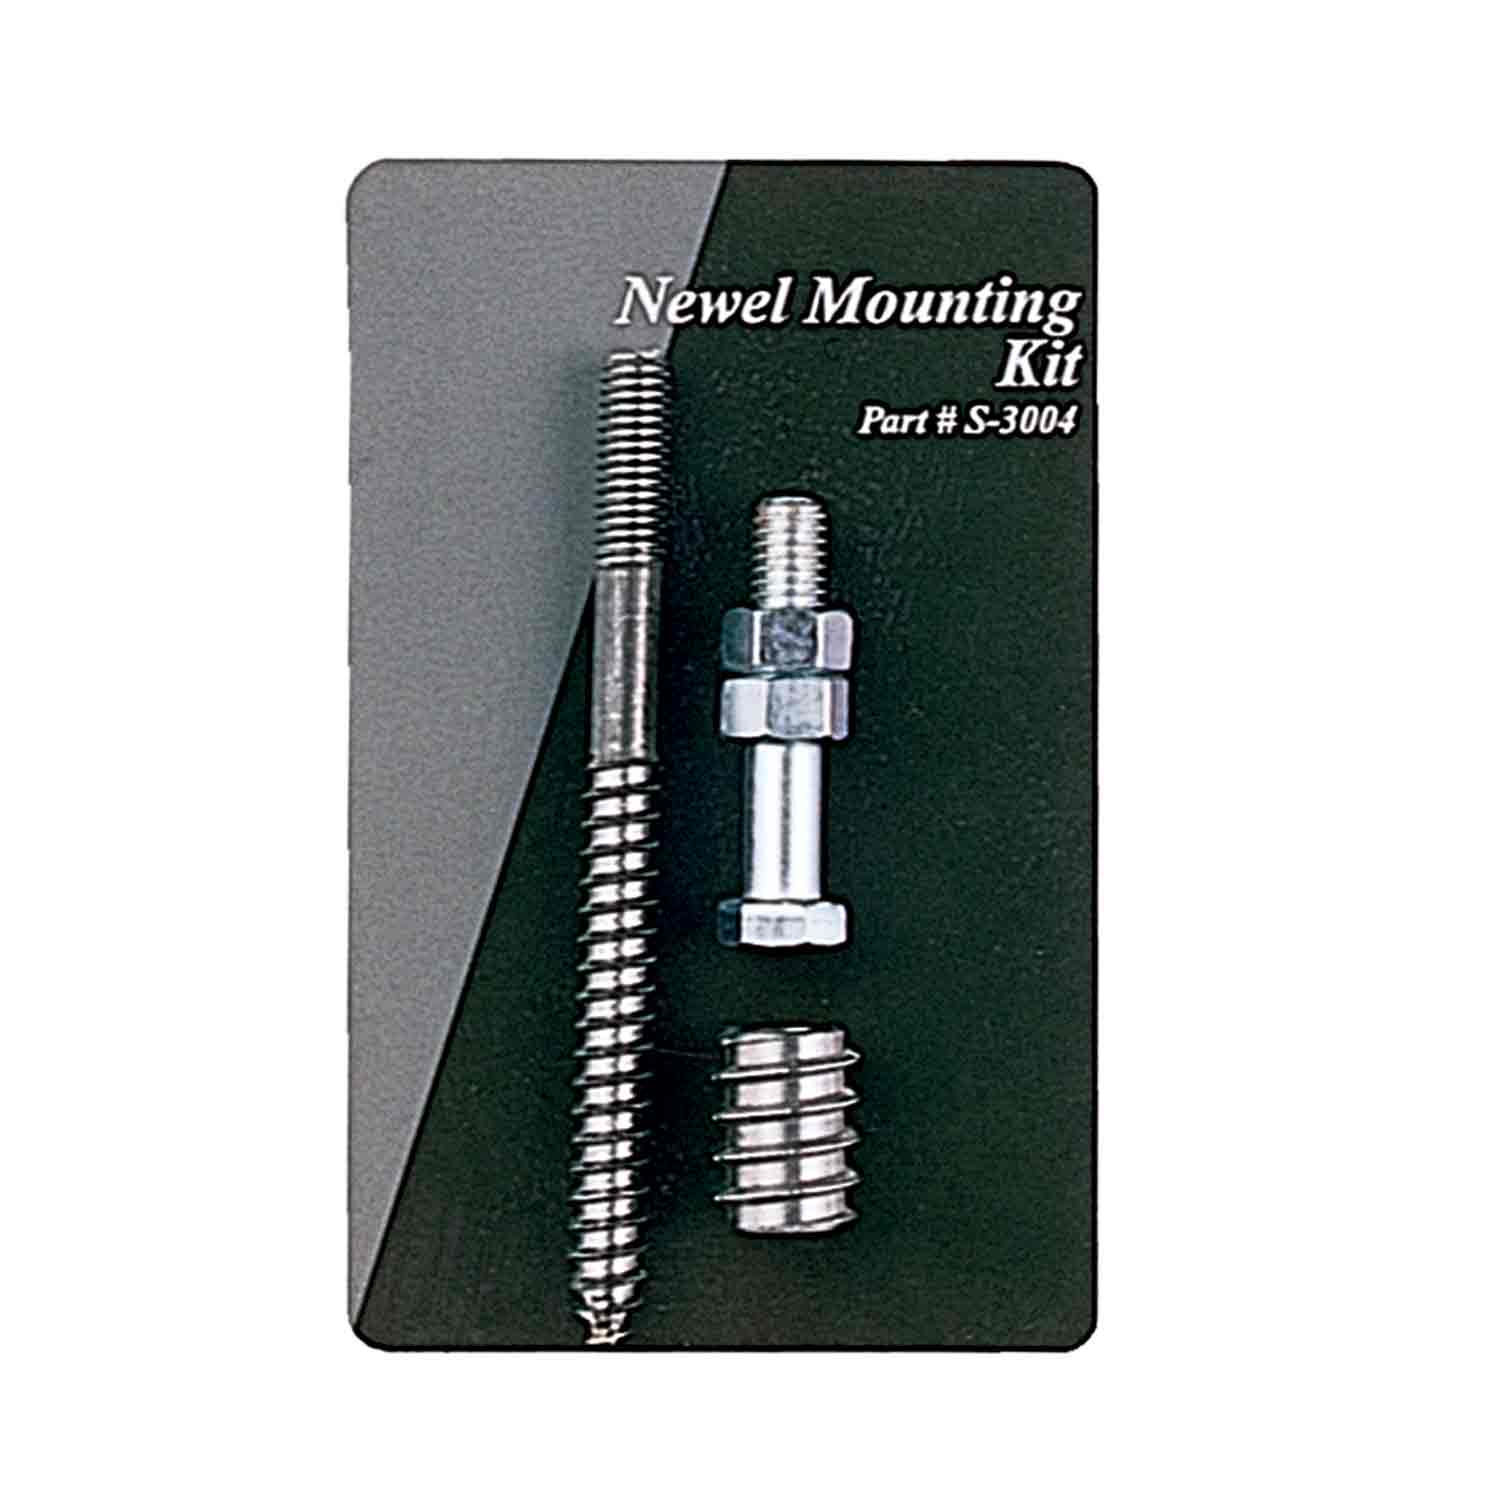
Next, we look at the options to install newel posts where the bottom of the post is not moulded. The first is to use a hanger bolt with a steel insert. The finished floor is drilled to accept the steel insert where the center of the newel post will be. The insert is then installed, this can be done with an insert-runner or with an open end wrench and two nuts. The hanger bolt is then threaded into a predrilled hole in the center of the post. Finally, a little glue is added around the steel insert, the hanger bolt is inserted into the insert and the post is threaded down tight. This is a simple installation method that does not require molding at the post base, it is probably the least strong method though it is still adequate in most situations the exceptions would be long straight sections where one of the other methods would be advised.
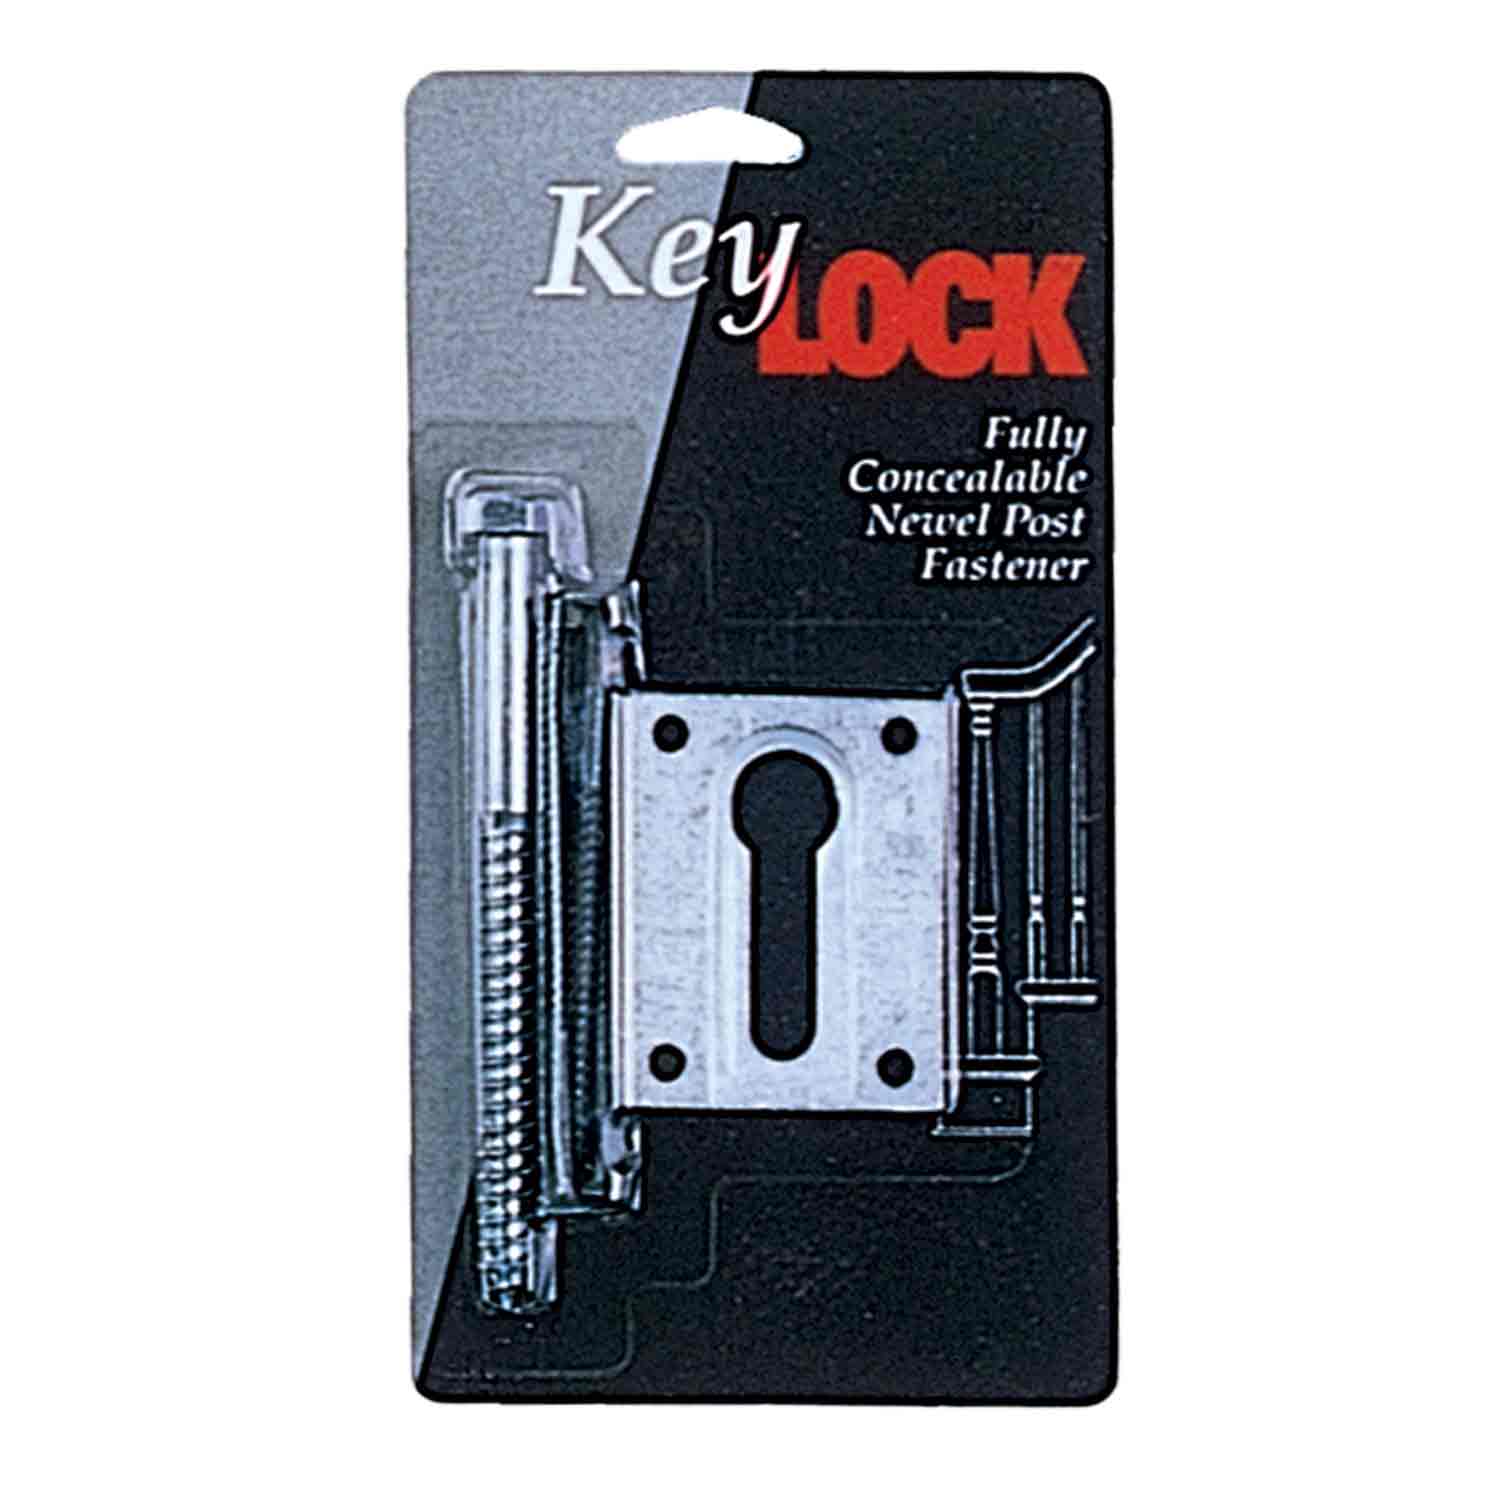
 Another method is the keylock newel post fastening system. In this method, a steel plate with a keyhole is recessed into the finished floor and attached with screws. A lag is then predrilled and threaded into the post with the head sticking out. The head of the lag is placed into the keyhole, then the post is tapped with a hammer and piece of wood (to protect the post) into place. As the lag bolt slides down the tapered slot in the Keylock plate the post will tighten. This method adds a little more strength than the hanger bolt with steel insert but doesn’t require moulding.
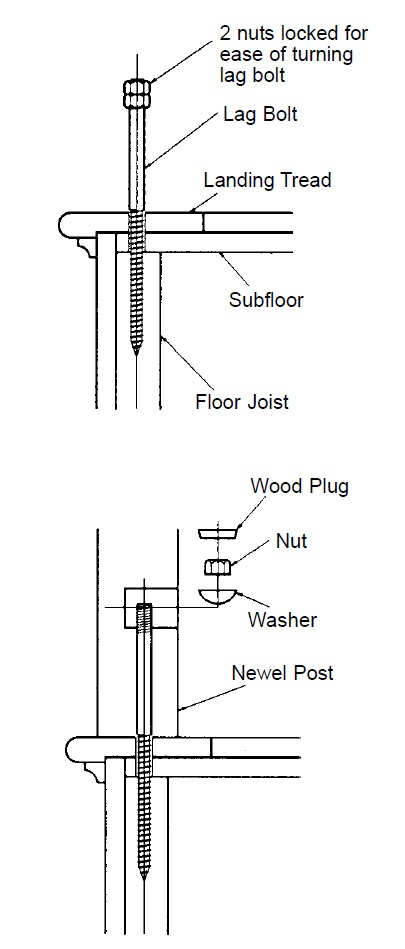
 Finally, my personally recommended method of newel post installation unless you mount the post into the floor. Mounting the post through the floor is by far the strongest most durable and probably the best method but the difficulty is such that it is rarely (if ever) required. So, my personal favorite is the hanger bolt. Now, there are a variety of measurements here that I am purposely omitting because it isn’t necessary for this post. Detailed installation information for this and all of the other methods come with the hardware and is available on our website. Basically though, in this method, a single hanger bolt is threaded into the floor (with appropriate backing). A 1” hole is drilled into the side of the post that intersects a ½” hole that is drilled up from the bottom of the post. The post is placed over the hanger bolt, which goes through the ½” hole. The top of the hanger bolt is now visible through the 1” hole allowing you to add a washer and a nut. The nut is tightened down with a Versa Tool and the hole is plugged with a tapered plug. While this method of newel post installation does require a plugged hole, the strength and durability it provides makes it well worth it in my mind. One more thing, our installers always used two hanger bolts for each newel post, at opposing corners and we always concealed the plug sides of the post in the least visible area. While this isn’t necessary it adds some piece of mind that your newel, perhaps the most important structural feature of your balustrade, is completely secure.
