Wood Stairs » Installation » Stair Installation of Tapered Wood Plugs
Installing a tapered plug is a simple procedure. As is the case with most stair hardware a few trade secrets will help ensure that your installation is flawless. There are only a couple of ways to incorrectly install a wood stair plug; first, you can have poorly selected color or grain that does not match the stair part. Second, the grain of the wood plug doesn’t go with the grain of the stair part. Finally, the plug is not installed flush which if raised, creates a bump and if recessed, creates a divot. In any of these cases, as long as the stair part itself is not damaged, the plug can easily be replaced with a correctly aligned, color matched and installed wood stair plug. The worst thing that you can do when installing a face grain plug is to damage the stair part itself by sanding a divot, cutting the part with a chisel or otherwise damaging the part. Those issues can be difficult or impossible to repair without replacing the part itself. Here is the best and easiest way to install either ½” Tapered Plugs or 1” Tapered Plugs.
To install tapered wood plugs, as part of your stair installation, you will need: the hole :), Wood Plugs, Wood Glue, Hammer, Chisel and Sand Paper.
First, during installation make sure that you drill the correct size hole. On a test piece of wood, drill a hole with the bit you plan on using then check a plug to make sure it fits. The plug should fit snuggly before it sets flush, and require slight tapping with a hammer to get it flush. A correct fit is pretty easily verified, just make sure that the wood stair plug doesn’t just drop in, and that the hole isn’t too small, because then the stair part could split when hammering the plug flush.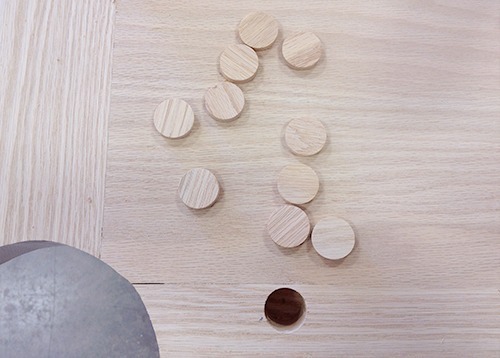
Now the actual tapered plug installation. First, select the best color and grain matched plug possible from those you have. This will help to ensure the closest match and the best looking final product.
Next, test to make sure the wood plug fits the hole. You should have already verified that you are using the correct bit, but if you wobbled this hole may be bigger than you’d like. If the hole is too big you have two choices, either make a plug to fit (this is a hassle but can be done with a scrap piece of wood and a belt sander). Or, as a last resort (and as long as the hole isn’t too big) you can mix some fine sawdust with your wood glue and create a kind of glue/putty that you apply around the plug before installing it into your stair part. This will create a visible ring around the plug, but without making a new plug or replacing the stair part, you don’t really have another choice.
Assuming that your plug does fit correctly the best way to apply the wood glue is not to the plug itself but into the hole. Squeeze a small amount of glue (maybe a quarter sized puddle) onto a scrap piece of wood or cardboard. Then take a screw and roll the end into the glue. Many of the holes that you will be plugging are upside down, on the bottom of handrails for example. The threads of the screw help keep the glue from dripping when you apply it around the hole. It only takes a very small amount, enough to cover the surface but not to drip. So, simply run the glued end of the screw around the hole. Gluing the edge of the hole instead of the plug keeps the glue in the hole instead of dripping down the plug when it is tapped in the next step.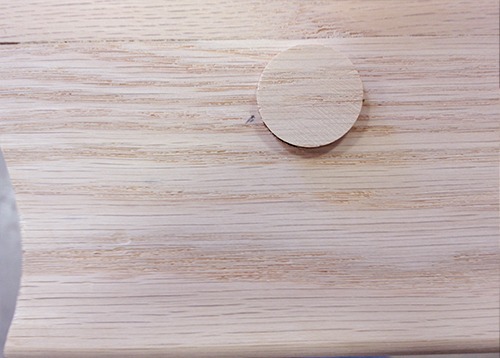
Then you place the tapered wood plug in the hole, with the grain running the way you want it, and push it in until it is snug. Do not try to force it at this point because if the plug goes too deep you’re going to have to dig it out and start over with a new one.
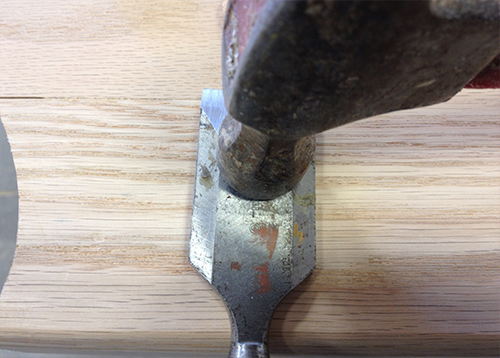 The last step, before finish sanding, is to take a chisel or a flat block of wood, place it on top of the plug and tap it flush. The block must be larger than the plug and cover it completely. Then when you hit the block with a hammer it drives the plug into the stair part until it stops flush with it. With that done,
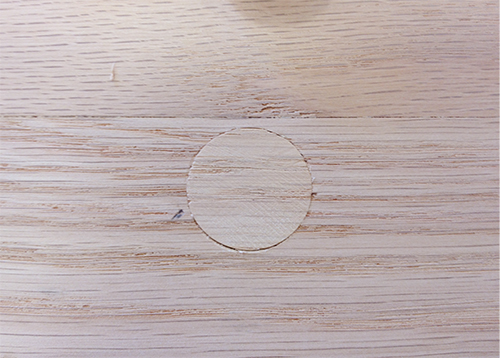 there should be virtually no glue residue and finish sanding takes only a couple of seconds. Make sure to sand with the grain and you are finished.
Let’s look at a couple of problems that could occur. If the plug will not set flush, which does happen on occasion, you will need to trim it flush. 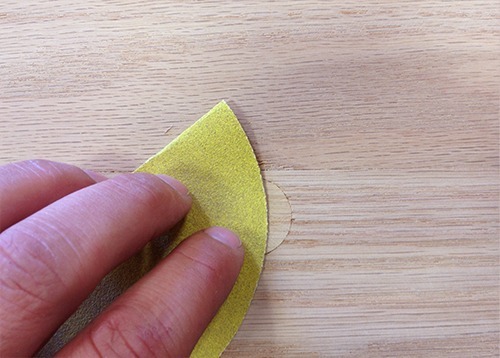 People are often tempted to take a chisel and cut the plug by tapping it. This works 50% of the time but is not worth the risk. Often the plug will chip below the surface of the stair part and there is no way to salvage it. So, you need to “shave” the plug flush. Still using a chisel, use it to shaving off very thin layers of the plug until it is flush. Then you can finish sand as before. Now I’ve mentioned several times that you may have to dig out plugs for different reasons. Perhaps the plug wasn’t turned correctly, or maybe it broke during installation, whatever the reason they are pretty easy to remove. There are two ways to remove a wood plug from a stair part. You can just take a chisel that is narrower than the plug and cut the plug in half then just remove the two halves. You can also use a screw and tap one side of the plug until the opposite side flips up and out of the hole, then pry it out. Just be careful not to damage the hole itself.
